“You mill your own grain?!” I think when people initially find out that I mill flour at home they think of a donkey circling a millstone in a barn somewhere. Ha! I can assure you, I’m no farmer and I don’t have hours upon hours to devote to breadmaking. BUT, what I do have is 15 minutes per week to grind up some grain with my *electric* grain mill and throw it in the bread machine. This new weekly routine has allowed me to provide tasty and nutritious homemade bread that everyone in the family enjoys.
The nutrition benefits
So, why mill your own grains at home when flour is fairly inexpensive and easy to keep on hand in the pantry? I was surprised to learn that wheat berries are naturally packed with fiber and vitamins, but all of this nutrition is stripped from the flour in the commercial milling process. The fiber (or bran) is filtered out to make the flour extra light and fluffy and the bran is sold as animal feed for additional profit. Next, the moisture-rich, oily vitamins are removed to allow the flour not to spoil so it can have a long shelf life at the store. Finally, the flour is washed with bleaching agents (yikes!!) to remove any yellow tint and give it the perfectly snow-white coloring. It’s no wonder our country is experiencing a health epidemic when you take a closer look at how we process our foods! Milling your own flour at home is a great way to cut out processed food and give your body the nutrition-rich fuel it needs.
Making sandwich bread
To mill grain for homemade bread, the only equipment you really need is an electric grain mill and a bread pan. If you want to make it super easy – I highly recommend a bread machine too. Here’s a list of my favorite breadmaking tools to help you get started on your journey into the world of homemade whole-grain bread.
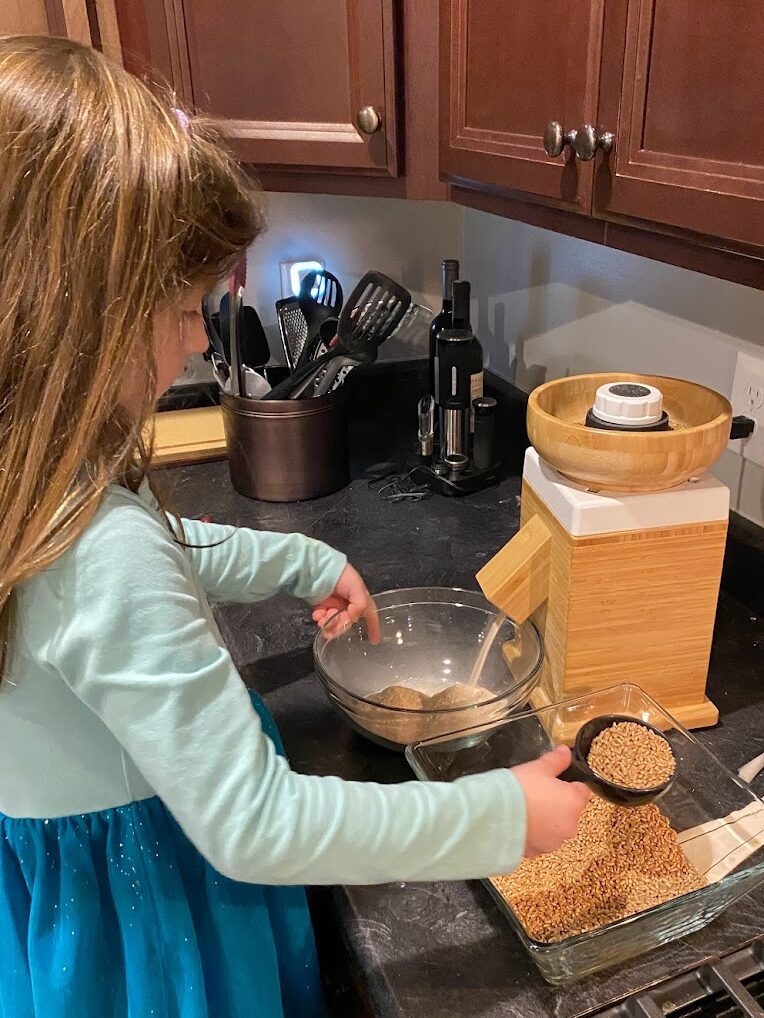
The mill that I use and love is the Nutrimill Harvest. This is a stone grain mill that is super easy to use and I actually think it looks pretty out on the kitchen counter! I can mill enough grain for a loaf of bread in under a minute and the flour is very fine and not gritty. The second most-used small appliance in my kitchen is my Zojirushi Bread Machine. This machine is the best! With two dough paddles, it is able to take on the heavier whole wheat doughs without issue. Simply dump in your ingredients and in just under 3 hours you will have a perfectly kneaded, risen, and baked loaf of bread.
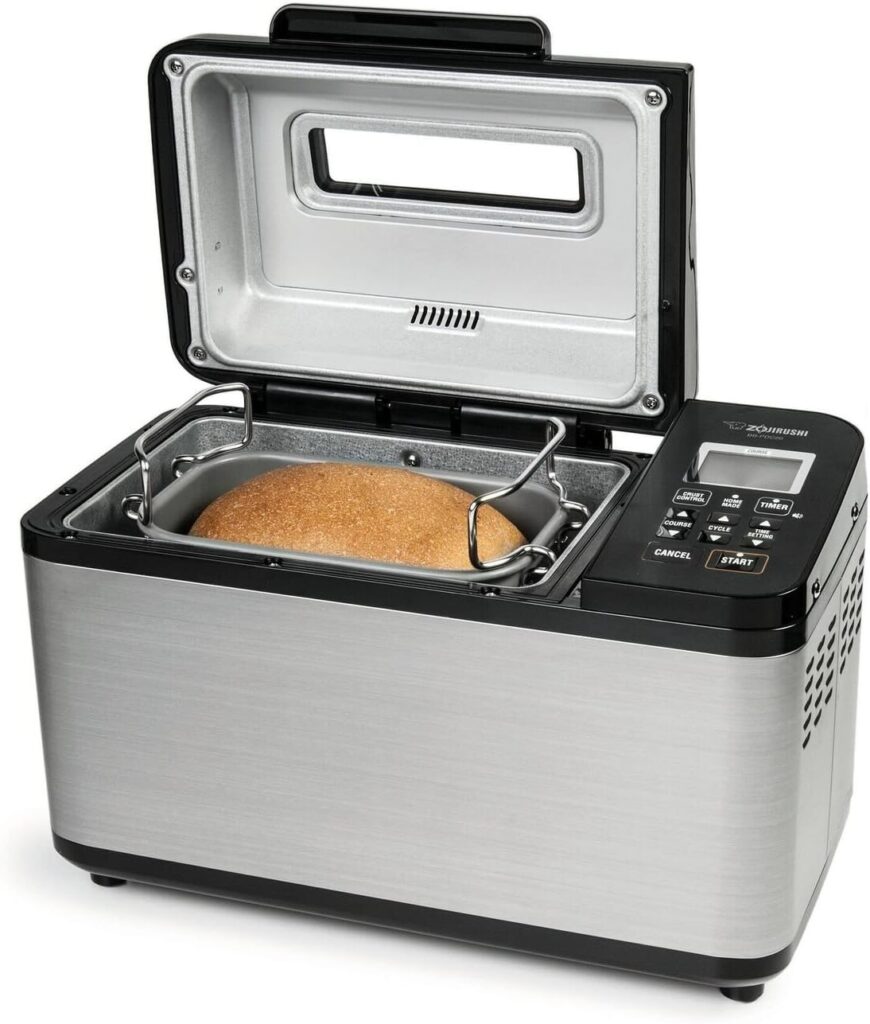
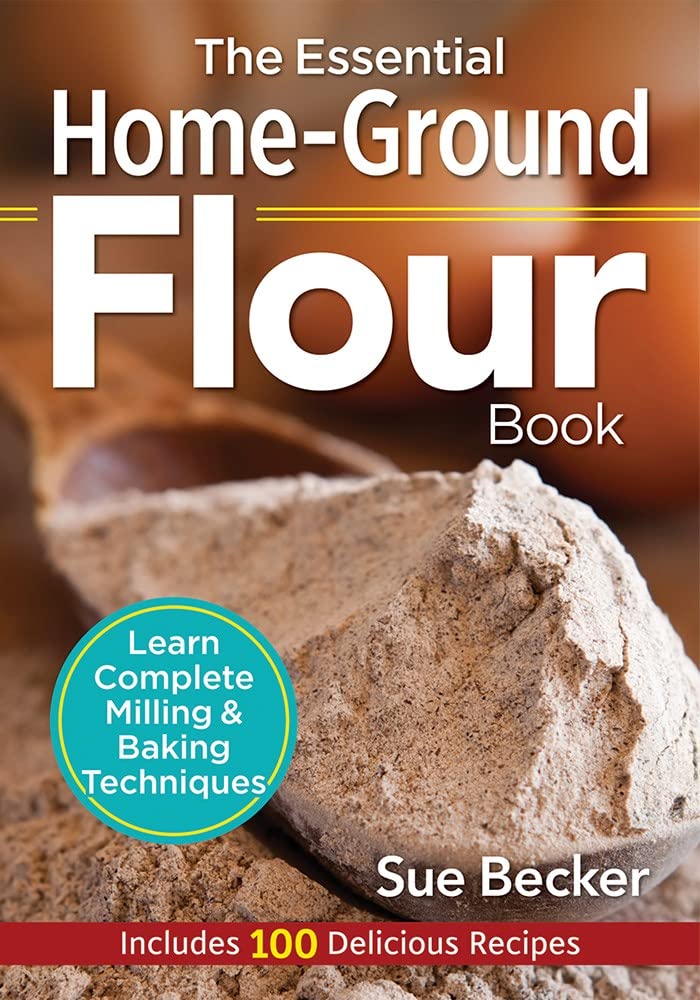
For baking fresh-milled whole wheat bread in this machine I use a slightly modified version of Sue Becker’s Basic Whole Wheat Bread Recipe and her daughter’s recommended Zojirushi breadmaker settings.
Basic Whole Wheat Bread:
1.5c warm water
1 egg
1/3c extra virgin olive oil
1/3c raw honey
2 tsp salt
~4c of fresh ground flour
1 Tbsp organic sunflower lecithin (optional, but recommended)
2 tsp instant yeast (increase to a full 1 Tbsp if using bread pans instead of the bread machine)
Grind 3 cups of wheat berries (to yield about 4c of flour) – my favorite combination right now is 1 cup hard white, 1 cup hard red, and 1 cup of spelt or kamut. Put ingredients in the breadmaker in the order listed above with wet ingredients on the bottom, then flour, and top with yeast. I like to mix the sunflower lecithin into the flour so it doesn’t clump. The sunflower lecithin is a natural emulsifier that helps make the bread softer and less crumbly.
On the Zorjirushi bread machine, you can program your own homemade setting. Whole wheat bread often needs more kneading time than bread made with commercial flour so I’ve had the best luck with using a custom setting rather than the machine’s pre-sets. Go to Homemade #15 and set the following.
Bread Machine Settings:
Rest – 1min (You can make this longer if you want to delay and have fresh bread ready later!)
Knead time – 20min
Shape – off
1st rise – 45min
2nd rise – 23min
3rd rise – 0min
Baking time – 42min
Keep warm – off
Dump your bread out of the pan as soon as possible or use the “keep warm” setting if you can’t take the bread out right away. If the bread stays in the pan for more than 5-10 minutes while cooling then it will start to get soggy with moisture on the bottom. The bread will slice more easily if it has a few minutes to cool first.
This recipe can also be made in regular bread pans if you don’t have a bread machine. Knead your dough by hand or in a stand mixer for about 10-15 minutes then allow to rise for 1 hour. Next, punch down your dough and reshape into bread pans. This recipe makes two 1lb loaves or one longer 2lb loaf. Allow to rise for 30 minutes in the pans while your oven is pre-heating to 350 degrees. Bake for 25 minutes or until internal temperature reaches 190.
Enjoy a slice of that goodness with a smear of Kerrygold irish butter and know you are doing something good for your body!
Sourdough Bread
Another delicious way to way to utilize your fresh-milled flour (with a little less ingredients) is with Sourdough bread.

The basic supplies you’ll need are: a Nutrigrain mill, large glass mixing bowls, silicone lids, parchment paper, a food scale, and a large dutch oven. The ingredients are:
1000g of whole wheat berries
310g sourdough starter
24g salt (I prefer Redmond’s Real Salt for nutritional value)
675g purified water.
Over the last several months, I have tried various recipes and methods for making sourdough bread. Below, you will find my favorite recipe and wheat combo. This recipe is a combination of many recipes and even has my own spin on it. Creating this recipe has taken me months of trial and error to finally achieve a wonderful 100% whole grain sourdough loaf.
This recipe will produce two yummy loaves in one go!
First, you will mill 600 grams of hard white wheat and 400 grams of soft white wheat into a large glass bowl.
Next, you will add the salt to the flour. Mix flour and salt together until well combined.
Then, in your large glass bowl, you will create a “well” in the middle of your flour, which just means – use a spoon to create a crater for your water.
You will then add your purified water. It’s important to use filtered/purified water as opposed to tap water. Tap water contains some contaminants which can kill the effectiveness of your starter.
Next, you will add your starter.
Using your large spoon, begin to mix your starter into the water without combining much of the flour at first. Your goal is to dissolve the starter into the water before incorporating the flour.
Once the water and starter are pretty well combined, begin to mix in your flour. The dough will become hard to stir with your spoon, that’s when you will roll up your sleeves to hand mix. Mix/knead your dough until all ingredients are well incorporated. The dough should not be completely sticky – it will stick to your hands some, but if it feels overwhelming, the dough is likely too wet. The dough should all stay in a shaggy ball.
Once this is done, you will leave the dough in the large glass bowl with a silicone lid on top (you can also use plastic wrap or a damp tea towel, but I prefer the lid as they are reusable). It will now enter its bulk rising stage.
You will want to stretch and fold the dough with damp hands 1 hour after you’ve finished mixing, and again 30 mins later. You do not have to do this, but it definitely helps with the gluten formation which is what gives you a bigger rise in your bread.
Leave dough in this bowl, anywhere from 4-12 hours. In your first few loaves, you will want to watch the dough to see when it has doubled – it is ready to bake when it has doubled, whether that took 4 hours or 12 hours to do so.
When the bulk rise is over, dump dough from glass bowl onto floured counter.
DIVIDE it into two to make 2 loaves! I like to use a dough scraper for this.
For each loaf:
Form into a rectangle, fold into thirds, roll like a cinnamon roll.
Put the dough onto lightly floured parchment paper and then put it into a bowl with a lid (this is where those silicone lids come in handy again). This will sit for an hour and will be considered your final rise.
AT THIS TIME, put the Dutch oven into the oven and heat it at 410 degrees for the hour that your dough is doing its final rise.
After this, put the dough on parchment paper and form into a ball. Score the dough (to be extra fancy with your scoring, you can use a bread lame). Put the dough and parchment paper into the dutch oven and bake for 25 mins with the dutch oven lid on. Then, remove lid at 25 min mark and bake for another 15 mins.
Repeat this last step for the second loaf.
You may then enjoy your hard work! I like to use Irish butter on a warm slice of my fresh bread.
Eating fresh milled, sourdough bread is like a warm hug for your gut. With the nutrition of the wheat and the probiotics of the sourdough starter – your GI tract will thank you!
Recommended Resources
Where to buy grain? You’ll find that grain can be super expensive to ship in bulk due to the weight. When I first started experimenting I bought a few small 1-3lb bags of several different grains on Amazon. A few of the things I started with were Hard White, Soft White, and Spelt. Once I knew what I liked, I ordered in bulk from Azure Standard. They have local pick-up locations all over the country and make deliveries once a month. They have great prices on organic grain, raw honey, sugar, salt, olive oil, and pretty much anything you would use for baking. Also, check out their food-grade buckets and glass storage jars! Bread Beckers also has an awesome selection of grains and baking supplies. They have co-op pick-up locations all over the country and make deliveries quarterly.
Where to find whole wheat recipes? Here are some of my favorite people to follow for great info on cooking and baking with fresh ground flour.
Bread Beckers – Their website is a little dated, but the recipe book pictured above is amazing!!
Best of luck on your homemade bread journey!